


You're standing in your driveway on a Saturday morning, coffee going cold, looking at a plain white trailer that could belong to anybody at the showgrounds. You've got a phone full of saved designs, a cart with three different decals in it, and one nagging question. Will any of this still look good after a season of sun, wash racks, and highway miles, and are you even allowed to put it where you want to put it?
Table of Contents
- Why Horse Trailer Stickers Deserve a Real Decision
- Vinyl Materials and Durability Explained Simply
- Legal and Visibility Considerations Most Guides Skip
- English vs Western Design Ideas That Actually Fit
- Placement, Sizing, and Safe Zones on the Trailer
- Application and Removal Without Damaging the Panel
- Care, Lifespan, and When to Replace
Why Horse Trailer Stickers Deserve a Real Decision
A rider in a tack store aisle faces the same wall most of us do. There's a glittery barrel racer, a simple farm name in script, a funny warning about a mare inside, and a monogram that looks perfect until you wonder how it'll read from the road. Picking by color alone is how a sticker ends up peeling at the corners before the first clinic ends.
Horse trailer stickers do more than decorate. They identify your rig in a crowded parking field, carry your farm name to people who may call about boarding or lessons, and tell other drivers something useful, like the fact that live animals are on board. A good choice stays legible, complements the trailer, and doesn't create work later.
What You're Actually Choosing
Think in layers, and the decision gets calmer. First comes the trailer itself, including its size, panel shape, and how you use it. Then comes safety and legality, then material, then design.
- Private hauler: You may want a name, a discipline silhouette, and an emergency contact that's easy to read.
- Trainer or barn owner: Consistent lettering across truck and trailer matters more than a one off joke decal.
- Occasional borrower or shared trailer: Removable or smaller graphics respect other users and future resale.
A small car sized design can be a useful test of style before you commit to a trailer panel, and many riders start with something like a horse themed car sticker for a truck window to see how a motif feels day to day. That trial won't tell you about trailer durability, but it will tell you if you still like the artwork in a month.
Choose the sticker you'd still be happy explaining to a buyer, an inspector, and a stranger reading it at a gas station.
Resale is part of the decision too. Bold personal lettering can narrow your buyer pool if removal looks difficult, while clean, well placed graphics often make a rig look cared for. You're not buying a permanent paint job. You are buying something that should look intentional for years and come off cleanly when your needs change.
Vinyl Materials and Durability Explained Simply
Vinyl sounds technical, but the choice is similar to picking outdoor furniture fabric. A cheap cover looks fine on the patio for one summer. A heavier, UV resistant fabric costs more because it's built to sit outside without cracking or fading.
Cast Film and Calendered Film in Plain Language
Cast vinyl starts as a liquid poured into a very thin film. Because it's thin and stable, it settles over curves and rivets with less memory, meaning it's less eager to shrink back and lift at the edges. Calendered vinyl is rolled out like dough. It's thicker, more economical, and works well on flat, simple surfaces, but it tends to fight compound curves.
Avery Dennison identifies cast vehicle films as preferable for vehicle graphics because they generally provide longer durability and greater heat and chemical resistance, with published guidance listing up to five years for MPI 1105 cast films, approximately two years for MPI 1902 removable cast films, and approximately one year for MPI 2105 calendered films under stated conditions in Avery Dennison vehicle wrap guidelines. Those figures aren't promises for every trailer. They're a useful comparison of how film construction changes expectations.
Sticker Material Quick Reference
| Film Type | Expected Outdoor Life | Best Use on a Trailer | Cost Tier |
|---|---|---|---|
| Cast vinyl with overlaminate | Longest of the options here | Curved, riveted, or frequently washed panels | Higher |
| Removable cast vinyl | Medium | Sponsorships or graphics you expect to change | Higher |
| Calendered vinyl | Shortest | Flat panels and short term event graphics | Lower |
| Basic indoor craft vinyl | Not outdoor rated | Tack trunks and interior labels, not exterior panels | Lowest |
What an Overlaminate Does
An overlaminate is a clear protective layer over printed vinyl, a bit like sunscreen and a rain jacket combined. It adds UV protection, helps resist detergent and road film, and gives the surface a consistent gloss or matte finish. For printed photos, gradients, or multicolor logos, ask whether the laminate is compatible with the base film.
Cut vinyl lettering is different. The color runs through the material, so there's no printed ink layer to protect in the same way. It can be an excellent choice for farm names and simple silhouettes, especially when you want crisp edges without a background rectangle.
Questions to Ask Before You Buy
- Film construction: Is this cast or calendered, and is it rated for vehicle exteriors?
- Finish protection: Does a printed design include a compatible overlaminate?
- Surface fit: Will it conform to rivets and gentle curves without bridging?
- Removal expectations: Is the adhesive permanent, removable, or repositionable during installation?
If a listing only says waterproof and never mentions outdoor rating, film type, or vehicle use, treat it as a laptop or water bottle sticker until proven otherwise. Trailer panels face ultraviolet exposure, rain, road salt, detergent, vibration, and temperature cycling. A budget sticker is sensible for a weekend event. It's a false saving for lettering you expect to represent your barn for years.
Legal and Visibility Considerations Most Guides Skip
Decorative stickers and legal stickers aren't the same thing. A registration decal, inspection sticker, farm plate, or manufacturer label carries information someone may need to verify. Your farm logo doesn't replace any of those, and it shouldn't cover them.
Trailer rules also sit inside a huge, uneven system. The Federal Highway Administration reported 25,529,809 trailers and semitrailers registered in 2010, including 16,799,435 light farm trailers, car trailers, and similar units in federal trailer registration statistics for 2010. Many privately owned horse trailers fall into broad light farm or automobile trailer categories rather than a separate national horse trailer category, and some states didn't require registration for certain light trailers. That's why wording and sticker requirements can look different from one state to the next.
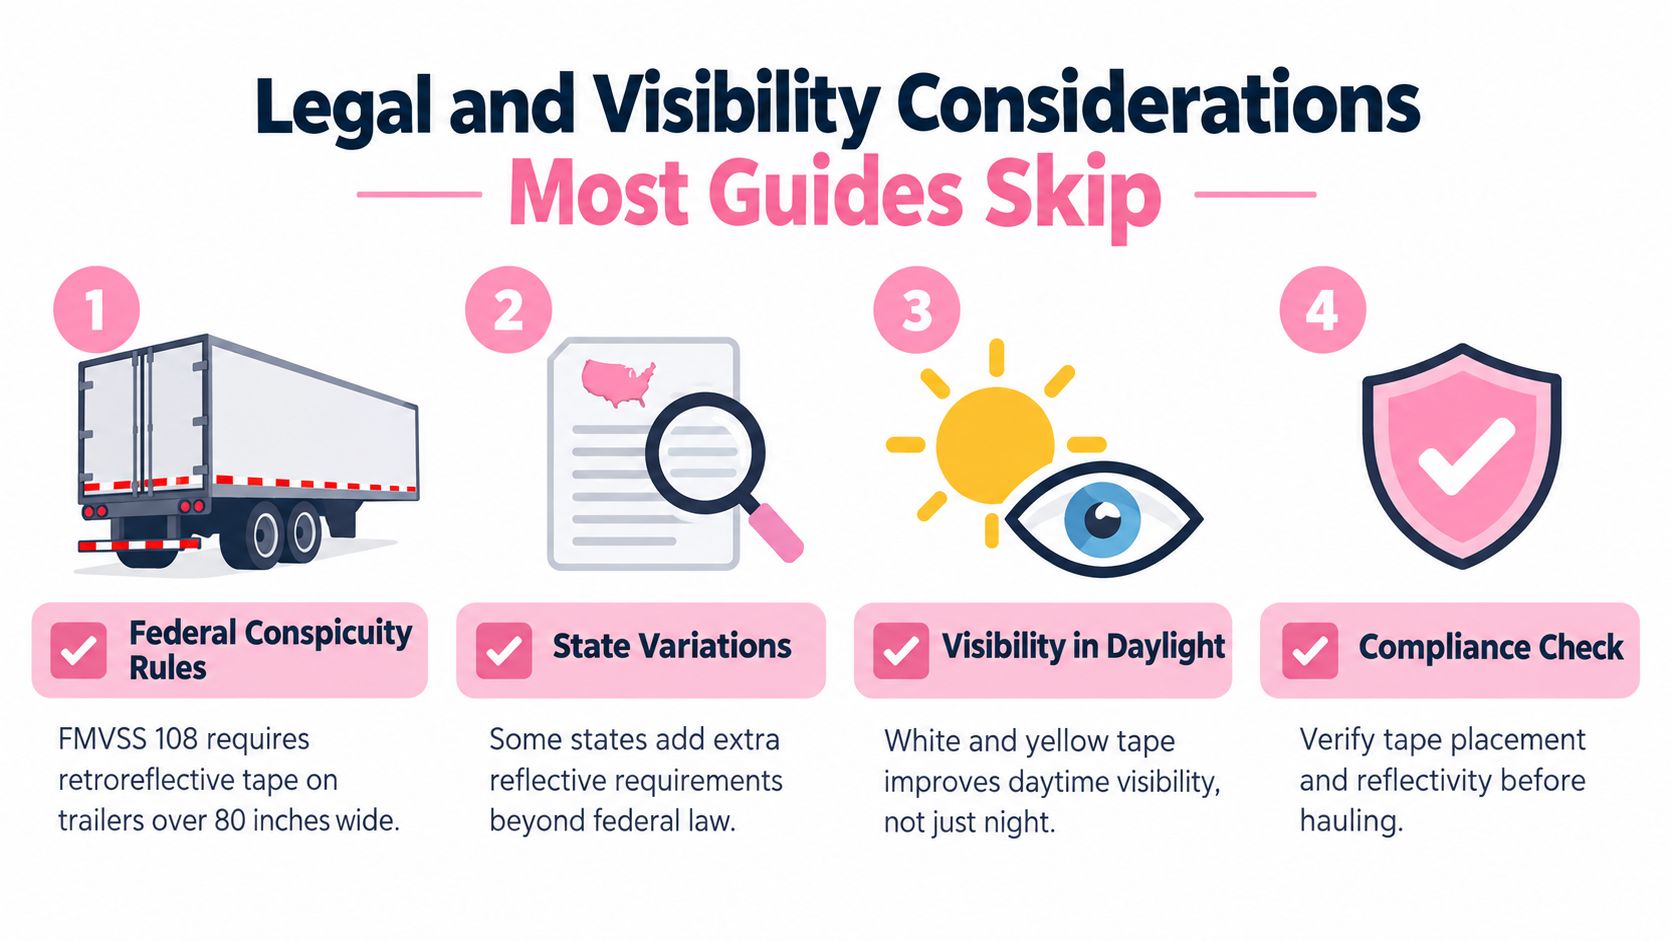
The Reflective Tape You Shouldn't Cover
The red and white reflective striping on larger trailers is called conspicuity treatment. It helps other drivers judge the trailer's length and position at night. FMCSA states that retroreflective sheeting requirements apply to certain semitrailers and trailers that are at least 80 inches wide and have a gross vehicle weight rating of at least 10,001 pounds, with rules tied to specified manufacturing dates and operating contexts in FMCSA federal register guidance on retroreflective sheeting.
That doesn't mean every privately used two horse bumper pull falls under the same federal commercial rules. It does mean you should check before decorating over reflective tape, especially if your trailer is wide, heavy, used commercially, or travels across state lines for business. Width, GVWR, manufacture date, and intended operation all matter.
Practical rule: Treat every reflector, light, plate, and reflective strip already on the trailer as protected space unless you've verified otherwise.
A Calm Way to Check Your Own Trailer
Photograph each side and the rear before you order anything. Note the license plate, marker lights, vents, VIN or manufacturer labels, emergency information, and any red and white tape. Then check your state, provincial, or national trailer rules for registration and marking requirements that apply to your category.
Don't imitate required reflectors with decorative red and white stickers. A lookalike graphic may not reflect light the same way, and it can confuse the visual pattern other drivers rely on. Decorate the open panel space boldly instead. You'll get the style you want without weakening a safety system that's already doing quiet work for you after dark.
English vs Western Design Ideas That Actually Fit
Style works best when it matches both the rider and the trailer. A delicate script that looks lovely on a stall card may disappear on a long white panel, while a bold rodeo graphic can overwhelm a small dressing room door. Start with the visual language you already live in.
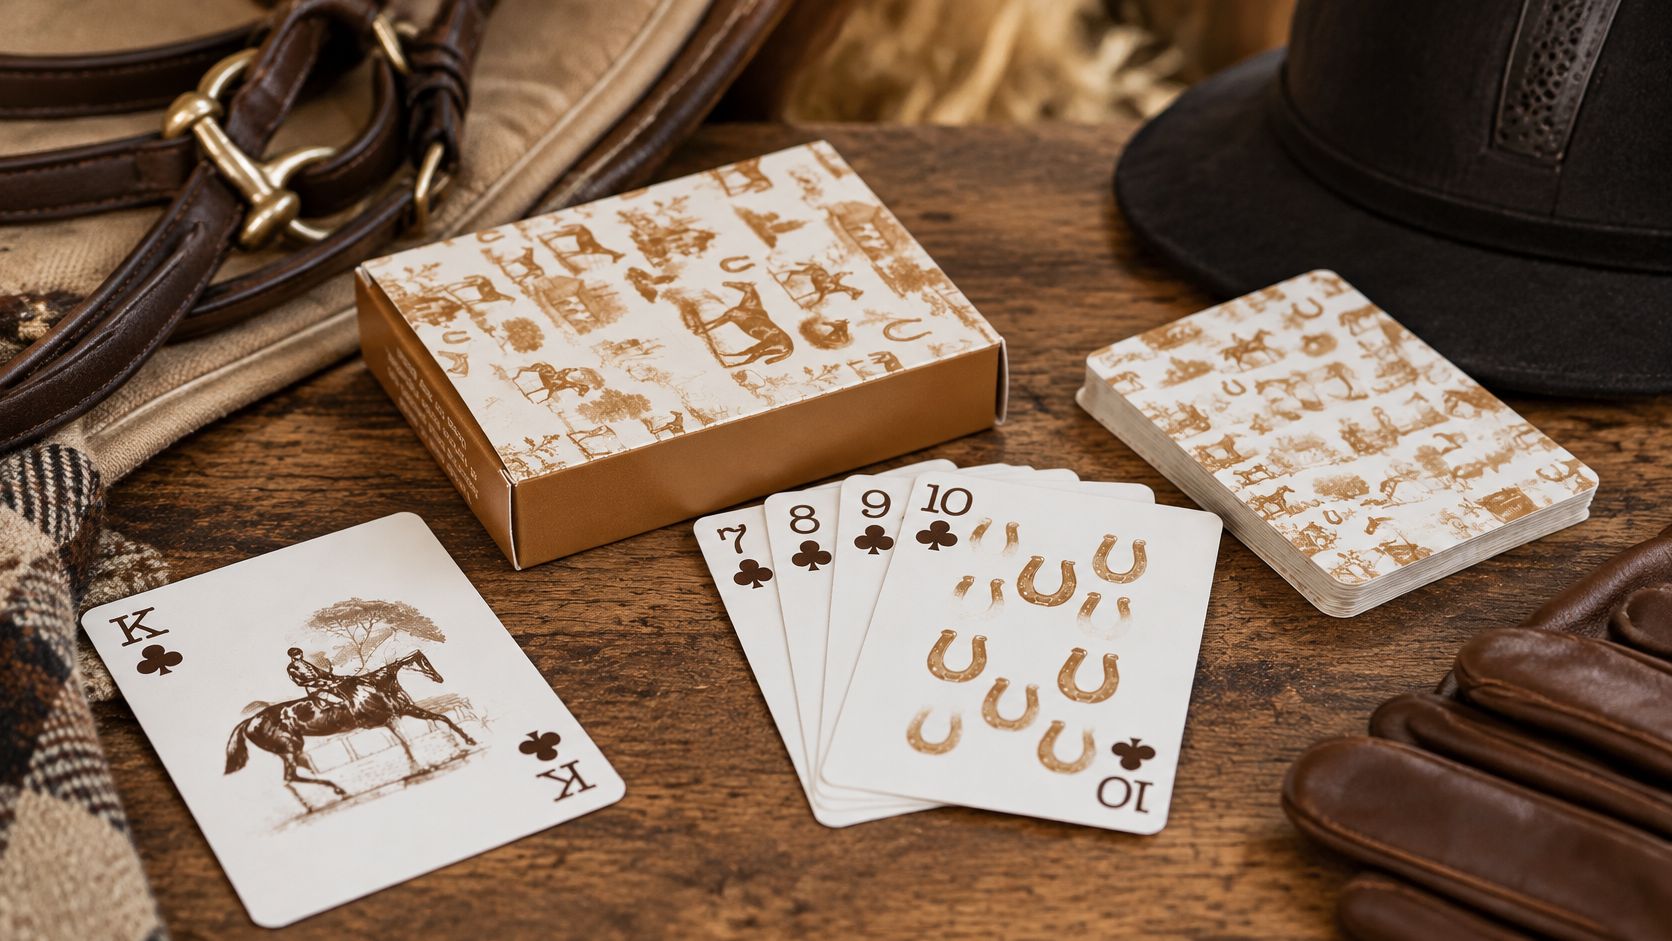
The image below is a reminder that equestrian design has a long visual history worth borrowing from, whether you prefer hunt country restraint or ranch lettering.
Two Traditions Side by Side
- English leaning motifs: Snaffle bits, stirrup leathers, hunt silhouettes, laurel wreaths, and interlocked monograms suit navy, hunter green, burgundy, black, and cream.
- Western leaning motifs: Horseshoes, longhorns, cactus scenes, tooled leather patterns, and rope borders pair well with turquoise, rust, tan, chocolate, and cream.
- Typography contrast: English designs often use refined serif or script lettering, while Western designs lean toward slab, rope, or hand lettered styles.
- Placement feel: English graphics often sit centered and symmetrical, while Western graphics may run larger across a rear door or gooseneck front.
Neither approach is more correct. If you ride both, a crossover design can work beautifully, such as a simple horse head silhouette with your farm name in a clean font and no discipline specific tack. Riders sorting out that identity may enjoy a comparison of Western and English riding traditions before they lock in artwork.
If you're browsing ready made artwork, Custom Sticker Shop horse decals can be one place to compare horse head silhouettes and proportions before scaling a design up for a trailer. Compare line weight carefully. Thin bridles, whiskers, and tiny lettering may be hard to weed, hard to apply, and hard to read once road dust settles.
Downtime at shows often sparks design ideas too, right down to the patterns on everyday objects. The Vintage Equestrian Playing Cards are horse themed playing cards displaying a pattern of vintage equestrian designs on the back of each card, with 54 cards for games during downtime at horse shows. Noticing which motifs you keep reaching for in small things can clarify what you'll enjoy seeing on a trailer every week.
Placement, Sizing, and Safe Zones on the Trailer
Walk around your trailer with painter's tape before you order. Mark the panel you're considering, step back to the distance of another driver, and look for lights, seams, hinges, latches, and reflective strips inside your outline. That simple mockup prevents most expensive surprises.
This placement overview helps you separate open panel space from hardware and safety markings.
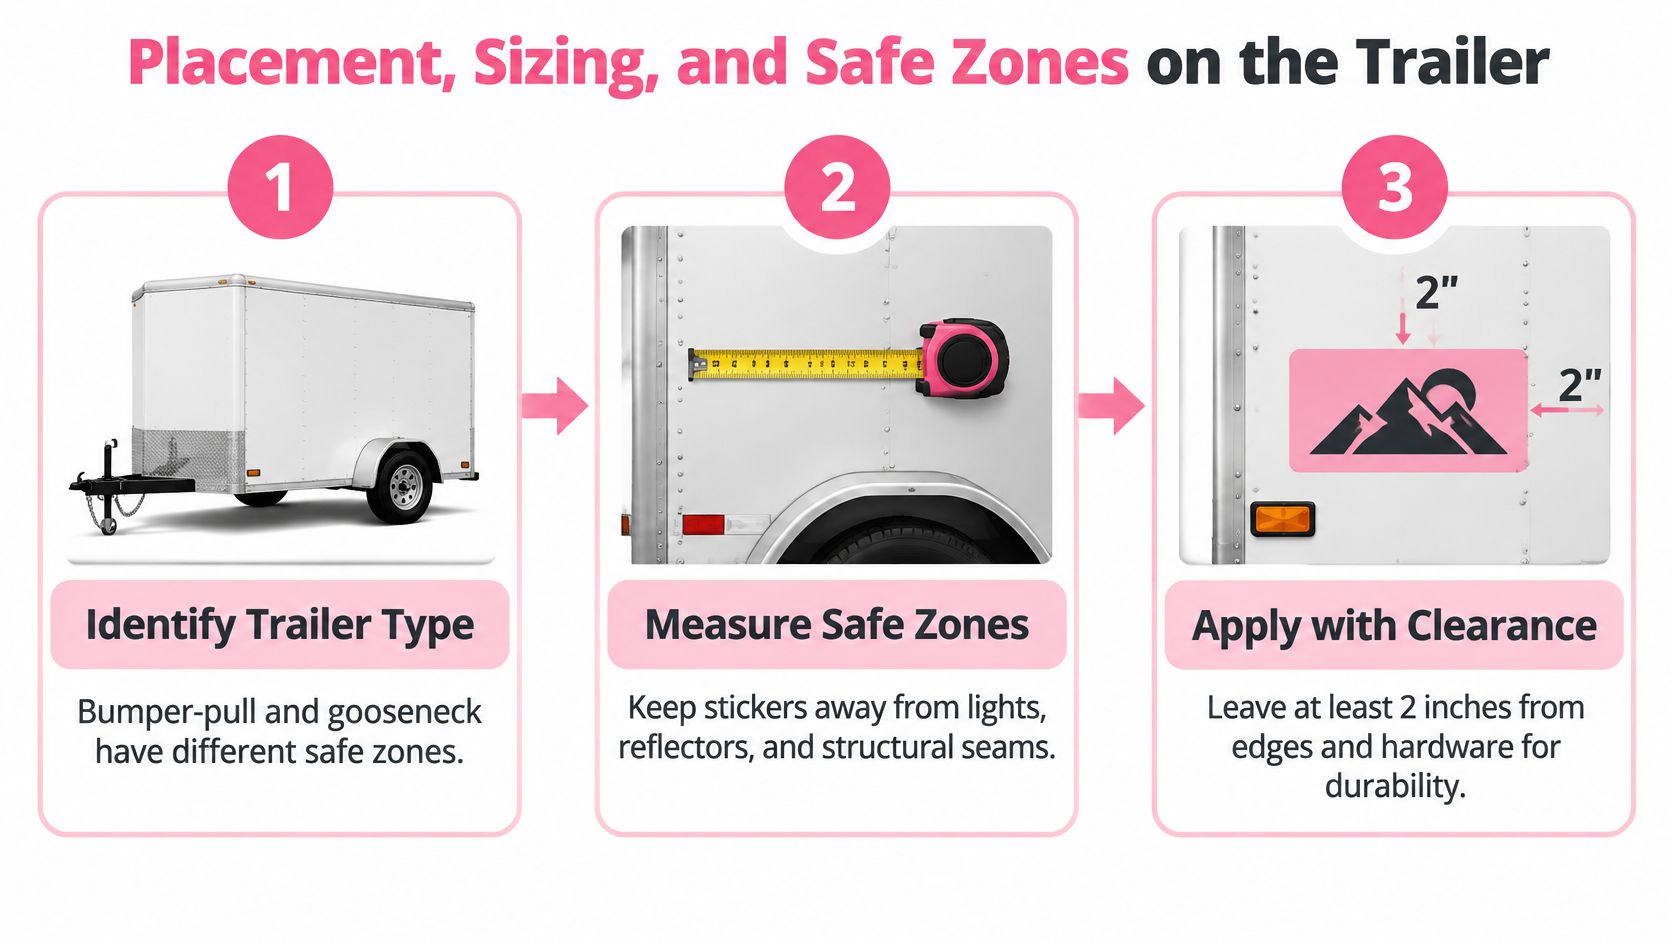
Safe Zones and Off Limits Areas
- Usually workable: Broad, flat side panels, the upper rear doors, and the gooseneck front, provided lettering clears windows and hardware.
- Use caution: Areas near fuel fillers, water fillers, door hinges, and frequently handled latches, where rubbing and spills are common.
- Keep clear: Reflective tape, marker lights, license plates, VIN and manufacturer labels, vents, and any required emergency or registration markings.
NHTSA guidance explains that required side treatment may be discontinuous, but a 48 foot trailer must have at least 24 feet of qualifying reflective material on each side, with each segment specified at 300 mm plus or minus 150 mm, and the treatment must not be obscured by other motor vehicle equipment or trailer cargo, as set out in NHTSA guidance on trailer conspicuity treatment. Your horse trailer may be much shorter and in a different regulatory category. The placement lesson still holds. Don't borrow space from reflective material and assume another segment makes up for it.
For a visual walkthrough of measuring and positioning before adhesive touches the panel, watch the demonstration below.
Sizing for Real World Reading
Small text fails first. Keep names and phone numbers off seams, sharp panel transitions, and rows of rivets where stress can start edge lifting. Measure the usable flat area, not the full door, and send your printer a straight on photo with a tape measure visible.
Balance matters more than filling every inch. A centered design with breathing room usually reads as intentional, while lettering squeezed between a window and a hinge looks accidental. If both sides carry the same graphic, confirm whether one needs to be mirrored so a horse silhouette faces forward on each side.
Application and Removal Without Damaging the Panel
Good installation is mostly preparation and patience. Rushing on a windy afternoon with a dusty trailer is how bubbles, crooked lettering, and lifting edges happen. Pick a sheltered spot, read the film maker's temperature guidance, and give yourself more time than you think you need.
A Step by Step Application
- Wash and dry the panel: Remove dirt, wax, grease, oxidation, and loose paint, then let the surface dry fully.
- Position with tape: Hinge the graphic with painter's tape, step back, and check level against a panel line rather than the ground.
- Apply from the center outward: Use a felt edged squeegee with firm, overlapping strokes to push air toward the edges.
- Work rivets gently: Warm cast film slightly if the manufacturer allows it, and press around rivets rather than stretching the film hard over them.
- Recheck the edges: Run the squeegee over borders and letter ends after removing transfer tape, since edges decide longevity.
Applying below the film manufacturer's minimum temperature can reduce adhesive wet out and edge adhesion, as covered in the material guidance above. If a large section lands crooked, don't keep pulling and resticking it. That stretches vinyl and weakens adhesive. Smaller decals and individual letters are more forgiving for a first project.
If you're tired, cold, or losing light, stop and tape the graphic in place for tomorrow. Vinyl rewards patience and punishes hurry.
Experience with removable home graphics can build useful hand skills, including alignment and bubble control, and ideas from peel and stick horse wallpaper projects translate in spirit if not in adhesive strength. Trailer vinyl is less forgiving, so test your technique on a small interior label or tack trunk first.
Removing an Old Decal
Warm the film gently with a heat gun or hair dryer on a cautious setting, then peel slowly at a low angle. Keep heat moving so you soften adhesive without overheating paint. Use a plastic razor or adhesive remover approved for vehicle finishes for residue, and test any remover in a hidden spot first.
Skip metal scrapers and aggressive solvents. They can gouge aluminum skin, dull clear coat, or smear adhesive into a bigger mess. If paint is already chalky or peeling, removal may lift weak paint no matter how careful you are, so inspect the panel before you begin.
Care, Lifespan, and When to Replace
Lifespan is a range, not a birthday. Standard outdoor vinyl is commonly rated around 3 to 5 years, while premium or cast films can last roughly 7 to 10 years under suitable conditions, according to Decals.com guidance on trailer manufacturer decals. Intense sun and high heat accelerate weathering, and metallic colors may have shorter expected durability than black, white, or standard colors.
A Simple Care Routine
- Wash gently: Use vehicle safe detergent and a soft mitt, and avoid blasting edges directly with a pressure washer.
- Inspect edges seasonally: Catching a lifted corner early gives you a chance to clean and reseal it if the film maker allows.
- Watch color change: Fading, cracking, chalking, and adhesive showing at the border signal that protection is breaking down.
- Park thoughtfully when possible: Shade and covered storage reduce UV and thermal stress on the sun facing side.
Replace a sticker when letters crack, edges keep lifting after cleaning, or the design no longer reads clearly at a normal following distance. A tired graphic makes a well kept trailer look neglected. Removing it while the film is still intact is also easier than picking off brittle fragments later.
When you're ready to bring the same intentional style from your trailer to your tack room, home, or gift list, visit Bridle Up Hope Shop for equestrian apparel, accessories, home goods, books, toys, and gifts in English and Western styles. Your purchase supports a charitable model that donates shop profits to help girls, women, and horses through Bridle Up Hope.

Deje un comentario