


You're standing in the tack shop with a young rider beside you, a helmet in one hand and three pairs of breeches in the other. The cart already has boots, gloves, and a show shirt, but you're still wondering what she needs for lessons, what can wait, and whether she'll outgrow everything before the next horse show.
That's the trap with English riding apparel for girls. It looks like a collection of shirts, pants, and boots, but it works better as a layered system organized by discipline and risk. A helmet protects the head. Proper boots help keep the foot secure in the stirrup. Breeches reduce rubbing and help the rider stay balanced. A fitted shirt or jacket keeps loose fabric from becoming a distraction.
The right approach protects both your child and your budget. Buy safety-critical pieces first, fit every garment by measurements, and upgrade the wardrobe only when her riding demands it.
Table of Contents
- Why the Right English Riding Apparel Matters for Girls
- The Core Pieces Every Girl Needs in Her Wardrobe
- Sizing and Fit Tips That Prevent Costly Returns
- Schooling Versus Show Outfits and Where to Spend
- Discipline-Specific Kits for Hunter Dressage and Eventing
- Materials Care and Your Pre-Ride Checklist
- Smart Shopping and Building a Starter Kit That Gives Back
Why the Right English Riding Apparel Matters for Girls
A girl can ride in a polished outfit and still be uncomfortable, distracted, or poorly protected. A boot that pinches behind the knee changes how she carries her leg. Breeches that slide at the waist make her tug at her waistband instead of listening to the instructor. A loose shirt can catch on tack or flap around her arms during a lesson.
The wardrobe should match the work. A beginner in flat lessons needs a secure helmet, heeled riding footwear, comfortable long pants, and a close-fitting top. A jumper needs more grip and may need impact protection. A rider heading toward a formal show needs clothing that meets barn and competition expectations without sacrificing movement.
Think in layers, not outfits
Start with the pieces that address the greatest risk:
- Head protection: Use a properly fitted riding helmet with the required safety certification. Style and color come later.
- Foot security: Choose riding boots with a defined heel and a sole that works with the stirrup.
- Contact and comfort: Select breeches or jodhpurs that reduce chafing and keep the rider stable.
- Movement control: Use fitted shirts, gloves, and weather layers that won't snag, bunch, or restrict the reins.
- Discipline protection: Add a certified body protector or safety vest when jumping or eventing makes it appropriate.
This layered tradition has a long history. Ladies' riding clothing emerged in the second half of the 16th century, and a distinct side-saddle riding habit appeared in the late 16th century, according to this history of riding habits and women's equestrian clothing. By the mid-18th century, the riding habit had become an important part of fashionable women's wardrobes. Riding and dance were also among the few socially acceptable physical activities for girls and women in aristocratic and upper-class society until the 1850s.
That history matters because today's riding clothes still solve the same basic problems. Protective layers became overskirts and cloaks, then developed into boots, breeches, jackets, and gloves. The first safety skirt appeared in 1875, and riding astride was accepted as the preferred method for women by 1930, as documented in the same historical reference.
Barn rule: If a garment makes a rider think about the garment instead of the horse, it doesn't fit the job.
Girls' English riding apparel is also a substantial consumer category, not a novelty section in the tack store. One industry estimate places the global equestrian apparel market at USD 5.6894 billion, while another projects growth from USD 3.49 billion in 2024 to USD 4.84 billion by 2030, with a 5.60% CAGR. The same market coverage identifies women as the dominant consumer group, with estimates placing women's share between 54.2% and 58.2%, and recreational and competitive participation helping drive demand. See the equestrian apparel market overview for those estimates.
The practical takeaway is simple. Buy for the rider in front of you, not for a fantasy show wardrobe she may need later.
The Core Pieces Every Girl Needs in Her Wardrobe
A starter wardrobe doesn't need every color, logo, and seasonal fabric. It needs a dependable set of pieces that keep a girl protected, comfortable, and able to use her aids clearly.
Start with the helmet
Buy the helmet first and fit it in person if possible. Look for the current safety label required by your riding program, including ASTM/SEI certification where applicable. The helmet should sit level, cover the forehead without blocking vision, and stay stable when she moves her head.
Fasten the chin strap snugly. The common two-finger check under the strap is a useful starting point, but the helmet still needs to be fitted according to the manufacturer's instructions. Don't buy a large helmet for growth. A helmet that shifts is not a sensible investment.
Build from the feet upward
For daily training, short paddock boots with half-chaps are practical and easier to fit as a child grows. Tall boots make sense for formal showing or for a rider whose discipline and trainer call for them. Either option should have a firm sole, closed toe, and defined heel.
Boot shaft height matters. A shaft that's too tall can pinch behind the knee, while one that's too short may rub and fail to provide the desired leg coverage. For a closer look at choosing boots for a young rider, use this guide to horse riding boots for girls.

Choose riding pants for grip
Breeches and jodhpurs should stretch in the saddle without creating pressure at the waist or knees. Knee patches are enough for many schooling riders. Full-seat breeches provide additional grip for riders who want more stability, particularly during jumping or more demanding work.
A fitted base layer, polo, or riding shirt should stay close to the body. Long sleeves offer useful coverage, but the shirt must allow the shoulders to rotate freely. For colder barn days, add a slim vest or schooling jacket rather than a bulky coat that interferes with the reins.
Gloves protect the hands from rein friction and improve contact. Choose full-finger gloves with reinforced areas across the palm and fingers. A spare pair belongs in the gear bag because wet gloves are miserable and lost gloves are practically a barn tradition.
Finish with the small pieces that keep the outfit functional: a belt that lies flat, a hair net or secured hairstyle, and a stock tie or pin when the show rules or trainer require one. Those accessories can polish the look, but they should never outrank a certified helmet or correctly fitted boots.
Sizing and Fit Tips That Prevent Costly Returns
Age labels are a poor substitute for a tape measure. Two girls of the same age may have very different shoulders, waists, hips, and inseams, and equestrian clothing needs to accommodate a seated position rather than a standing one.
Measure her in lightweight base layers. Keep the tape comfortably loose at the natural waist, and write down the measurements before you shop. The youth sizing guidance from Hobby Horse's kids' fit guide maps chest measurements to apparel sizes and shows why generic youth charts can create avoidable mistakes.
Measure the landmarks that affect the saddle
For a jacket or show shirt, measure the chest at its widest point. Measure the natural waist for breeches, then measure the inseam from the crotch to the ankle bone. For boots, record the inseam and the calf circumference while the rider is standing naturally.
Helmet measurement is separate. Measure around the head according to the helmet maker's instructions, generally above the eyebrows and around the widest part of the head. The helmet must sit level, not tipped backward and exposing the forehead.
| Garment | Landmark | Measure | Fit Check |
|---|---|---|---|
| Helmet | Head | Head circumference at the manufacturer's stated position | It stays level and stable without pressure points |
| Jacket or shirt | Chest | Widest chest point | She can reach forward and rotate her shoulders |
| Breeches | Waist and hips | Natural waist, plus hip for shape | Waist lies flat without gaping or digging |
| Breeches or jodhpurs | Inseam | Crotch to ankle bone | Knee patch sits at the knee while seated |
| Tall boots | Leg and calf | Inseam and fullest calf | Knee isn't pinched and the shaft doesn't collapse |
| Gloves | Hand | Palm and finger length | Fingers reach the ends without excess fabric |
Use growth room carefully
A little room in ordinary clothing can be practical. Growth room in safety gear can be dangerous. A helmet shouldn't be oversized, and a body protector shouldn't hang away from the torso. Breeches may tolerate modest length allowance, but excess fabric at the ankle can bunch under boots and create pressure.
The most common fitting errors are predictable:
- Age-based ordering: A child's age doesn't tell you her chest, waist, or inseam.
- Hip-only breech measurements: This can produce a waistband that gaps at the back.
- Tall boots ordered by height alone: Calf shape and knee position matter just as much.
- Gloves chosen by handedness: Measure the hand. Right- and left-handed riders still need the correct glove dimensions on both hands.
- Helmet positioned too far back: The forehead should remain properly covered.
Before leaving the fitting room, have her sit as if she's in the saddle, bend her knees, reach forward, rotate her shoulders, and take a few steps. Check the waistband, knee patches, boot shaft, and helmet stability. Make exchanges before the first lesson, not after a child has sweated in the garment or marked the soles.
For broader apparel guidance, compare the construction and fit advice in this resource on breeches for women, then apply the same measurement-first method to youth sizes.
Schooling Versus Show Outfits and Where to Spend
A schooling wardrobe should work hard and wash easily. A show wardrobe should look precise, meet the barn's expectations, and fit well enough that the rider can focus in the ring. They don't need to be identical, and a young rider rarely needs a separate closet for each purpose.
| Apparel Piece | Schooling Standard | Show Standard | Save or Splurge |
|---|---|---|---|
| Helmet | Certified, fitted, clean, and secure | Certified, fitted, and appropriate to the discipline | Splurge on fit and certification |
| Shirt | Breathable polo or fitted long sleeve | Formal collar, clean finish, and required color | Save with washable basics |
| Breeches | Stretch fabric with knee patches or full seat | Discipline-appropriate color and polished fit | Spend on comfort and durability |
| Boots | Paddock boots, often with half-chaps | Tall boots or approved young-rider footwear | Splurge on tall-boot fit |
| Jacket | Washable vest, fleece, or schooling coat | Tailored show coat in a conservative style where expected | Splurge on tailoring only when needed |
| Gloves | Functional, reinforced, and comfortable | Clean, close-fitting, and coordinated | Save on schooling pairs |
| Belt or stock tie | Belt optional | Belt or stock tie according to class and trainer | Buy only what the class requires |
Put money where poor fit causes problems
The helmet is the first essential purchase. Don't choose it because the finish matches the show coat. Choose it because it meets the applicable standard and stays in place.
Tall boots deserve careful spending because a poor shaft fit can affect both comfort and leg position. A quality pair that fits the calf and knee is more useful than a fashionable pair that leaves the rider pinching or limping after a lesson. If she's still growing quickly, paddock boots and half-chaps are often the more sensible schooling choice.
A show coat should be well-fitted but not tight. The sleeves need to allow rein contact, the shoulders need room for movement, and the front shouldn't pull across the chest when she sits. Save on machine-washable polos, schooling gloves, and practical layers. Add one polished coat and one formal shirt when a show schedule makes them necessary.
The most efficient plan is a strong schooling set plus one or two upgraded pieces. Clean breeches, polished boots, a suitable shirt, and a well-fitted coat can create a respectable show outfit without duplicating every item in the tack room.
Discipline-Specific Kits for Hunter Dressage and Eventing
The horse may be the same, but the rider's clothing changes with the job. Hunter style favors quiet polish, dressage emphasizes clean precision, and eventing puts function and protection ahead of decoration.
Hunter kit
Hunters traditionally call for a dark jacket in navy, black, or grey, with tan breeches and a conservative presentation. Tall black boots are common for more advanced riders, while younger riders may use paddock boots with jodhpurs and garters if the class and barn allow them.
A hunt-style helmet and tidy hair net complete the look. Keep the colors restrained unless the trainer or class rules say otherwise. Hunters reward a visually quiet presentation, so skip loud graphics, dangling accessories, and jackets that shine under arena lights.
Dressage kit
Dressage clothing should look crisp and orderly. A rider may wear light or white breeches, a formal shirt, gloves, and a longer-cut coat. Depending on the level and show requirements, a stock tie or pin may be part of the presentation.
Tall dress boots need a defined heel and a shaft that supports the leg without restricting the knee. The coat should fall cleanly when she sits, and the gloves should provide rein contact without bulky seams. This discipline exposes small fit problems because the rider's outline and alignment are part of the overall impression.

Eventing kit
Eventing requires the most deliberate risk-based planning. For cross-country, a girl may need a body protector or safety vest, a medical armband, and an ASTM/SEI-certified helmet with a secure fixed harness. An air vest may be used as an additional layer where the rider, trainer, and event requirements support it.
Youth body protectors and safety vests are sold to standards such as ASTM F1937-04, and fit guidance emphasizes adjustable closures, breathable materials, and flexible foam panels. Review the youth eventer safety vest fitting information before buying. Certification comes first, then the smallest size that permits a full seated posture, shoulder rotation, and a closed front without gaping.
Don't buy a vest several sizes too large for future growth. Excess space can reduce stability and coverage. A vest that's too tight can restrict breathing and interfere with rein position. Have the trainer check the fit in the saddle before the first cross-country school.
Helmets, gloves, and secure footwear belong in every discipline. The difference is how much emphasis the outfit places on formality or impact protection.
Materials Care and Your Pre-Ride Checklist
Riding clothes get sweaty, dusty, muddy, and occasionally decorated with an unplanned hoof print. Care routines should be boring and consistent because neglected gear becomes uncomfortable, smelly, and expensive to replace.
Wash technical breeches and gloves according to their labels, generally using cold water and a gentle cycle. Skip fabric softener when the manufacturer warns against it, and air-dry stretch garments rather than exposing them to unnecessary heat. Turn breeches inside out before washing to protect grip panels and reduce abrasion.
Leather boots need a wipe-down after each ride. Remove mud before it dries, let the leather dry naturally, and use a suitable conditioner rather than soaking the boots or scrubbing them aggressively. Polish tall boots before a show, but don't cover dirt with polish.
Protect the helmet
Helmet care is not the same as clothing care. Store it in a padded bag away from heat, direct sun, and tack-room clutter. Clean the liner and shell only with products approved by the manufacturer. Avoid solvents and harsh cleaners that may damage materials inside the helmet.
Equipment truth: A helmet bag is useful storage. It isn't permission to toss the helmet into the trunk under a saddle pad.
Keep one labeled tote for the rider and divide it by category. One pocket holds gloves and spare socks. Another holds the belt, hair net, stock tie, pin, and cleaning cloth. The show coat should hang on a hook rather than live crumpled in the back seat.
Pack the night before
Use this checklist before a lesson or show:
- Helmet: Certified, clean, and fitted with its chin strap.
- Gloves: Primary pair plus a dry spare pair.
- Clothing: Clean breeches, shirt, jacket, and weather layer.
- Finishing pieces: Belt, stock tie, pin, hair net, and hair bands if required.
- Footwear: Riding boots, socks, boot pull, and polish or a cleaning cloth.
- Barn extras: Water, sunscreen, and any items listed by the trainer.
If a garment smells after one ride, wash it. Children notice unpleasant clothing quickly, and barn companions notice too. A rotation of practical schooling tops and breeches is more useful than one expensive outfit that never gets cleaned.

Smart Shopping and Building a Starter Kit That Gives Back
Don't buy the complete dream wardrobe on the first trip. Children grow, disciplines change, and trainers often have strong preferences about show attire. Build in stages.
A sensible starter kit includes a new fitted helmet, heeled riding boots, one pair of durable breeches or jodhpurs, two close-fitting shirts, gloves, and a weather layer. An intermediate kit adds a second pair of riding pants, half-chaps or tall boots, a schooling jacket, and discipline-specific accessories. A complete kit adds a show coat, formal shirt, additional gloves, stock tie or pin, and protective equipment when jumping or eventing calls for it.
Spend in the right order
- Safety first: Buy and fit the helmet before choosing colors or brands.
- Daily use second: Invest in boots, breeches, gloves, and shirts she can wear repeatedly.
- Show pieces third: Add a coat and formal accessories when she has a real show date.
- Pre-owned carefully: Consignment shops and tack swaps can be useful for clothing and boots, but don't treat an unknown helmet as a safe bargain.
- Watch the season: Clearance racks and end-of-season sales can lower the cost of non-safety apparel.
- Keep the purpose visible: Put savings toward lessons, fitting help, or other training needs.
Sustainability also needs a practical lens. Interest in recycled fabrics, organic cotton, ethical production, smart textiles, and custom-fit riding clothing is growing, but affordability and availability still shape many purchases. One market report projects sustainable equestrian apparel at about USD 1.8 billion, while another says the unsustainable segment held about 72% market share in 2024 because shoppers continue to prioritize accessible pricing and availability. Read the equestrian apparel sustainability market coverage for that context.
For a child who may outgrow a garment quickly, a durable washable item can be the responsible choice even when it isn't marketed as eco-focused. Check stretch recovery, wash instructions, drying needs, and whether the fabric can handle repeated barn use. A recycled fabric still has to survive the saddle, the wash, and the next lesson.
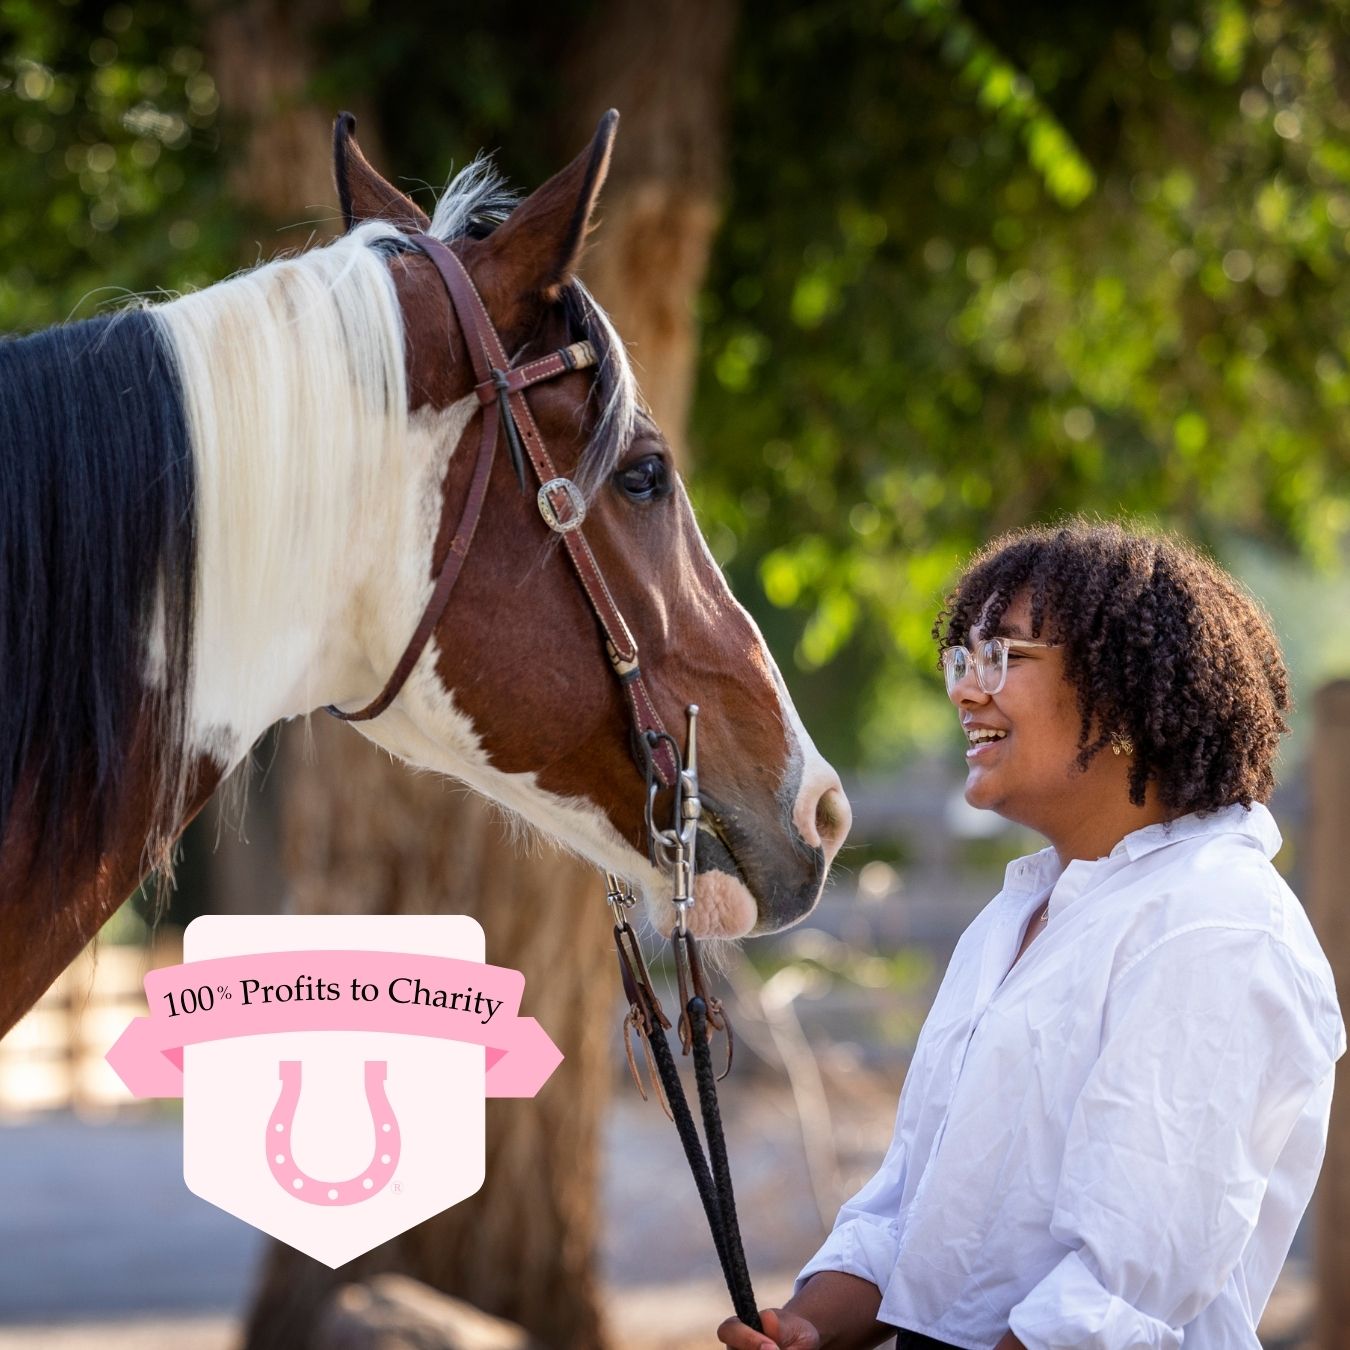
The Bridle Up Hope Shop offers equestrian apparel, accessories, girls' clothing, boots, belts, books, toys, and horse-themed gifts, and its charitable model directs 100% of annual net profits to the Bridle Up Hope foundation, which supports girls and women through horses and habits. You can also compare wardrobe ideas in this guide to equestrian apparel brands before choosing what belongs in your child's first kit.

Start with one helmet, one accurate inseam measurement, and one realistic riding goal. Then choose the starter pieces that will be used at the next lesson, not the pieces that look impressive in the cart.
Visit Bridle Up Hope Shop to browse girls' equestrian clothing, riding-related accessories, boots, books, toys, and horse-themed gifts. Choose the pieces that fit your rider's current needs, and let the purchase support a charitable foundation helping girls and women build confidence through horses and habits.
Leave a comment